The Honeywell TH6220U2000 is a programmable thermostat designed for energy efficiency and comfort. This guide provides a comprehensive overview of its installation process, ensuring proper setup and functionality.
1.1 Product Overview
The Honeywell TH6220U2000 is a programmable thermostat designed for optimal energy efficiency and comfort. It belongs to the T6 Pro series, offering advanced features for precise temperature control. With a sleek design and user-friendly interface, it is compatible with various HVAC systems, including heating, cooling, and heat pump configurations. This thermostat supports programmable scheduling, geofencing, and smart home integration through the Honeywell Home app. Its energy-saving capabilities and adaptive learning technology make it a popular choice for modern homes. The TH6220U2000 is part of Honeywell’s commitment to innovative, reliable, and user-centric climate control solutions. Proper installation ensures seamless functionality and maximizes its benefits.
1.2 Key Features of the Honeywell TH6220U2000
The Honeywell TH6220U2000 offers a range of advanced features, including programmable scheduling, geofencing, and smart home integration via the Honeywell Home app. It supports energy-saving modes and adaptive learning technology, optimizing comfort and efficiency. The thermostat is compatible with various HVAC systems, such as heating, cooling, and heat pumps. Its user-friendly interface and sleek design enhance ease of use. Additional features include optional cover plate installation and compatibility with the J-Box adapter for flexible mounting options. The TH6220U2000 also supports advanced installation settings, ensuring a tailored setup for different home environments. These features collectively provide a comprehensive solution for modern temperature control needs.
1.3 Importance of Proper Installation
Proper installation of the Honeywell TH6220U2000 is crucial for optimal performance, safety, and energy efficiency. Incorrect wiring or setup can lead to system malfunctions, increased energy consumption, and potential damage to the device or HVAC system. Following the installation manual ensures compatibility with existing systems and compliance with safety standards. Correct installation also guarantees accurate temperature control, reducing wear and tear on heating and cooling units. Additionally, proper setup allows users to fully utilize advanced features like programmable scheduling and smart home integration, maximizing comfort and energy savings. Therefore, adhering to the installation guidelines is essential for a reliable and efficient operation of the thermostat.

Pre-Installation Requirements
Before installing the Honeywell TH6220U2000, ensure system compatibility, verify electrical requirements, and gather all necessary tools and materials for a smooth and successful setup process.
2.1 System Compatibility Check
Before proceeding with the installation of the Honeywell TH6220U2000, it is crucial to verify system compatibility. This thermostat is designed to work with a variety of heating, ventilation, and air conditioning (HVAC) systems, including conventional and heat pump configurations. Ensure that your existing system supports the thermostat’s features, such as programmable scheduling and energy-saving modes. Additionally, check the voltage requirements and wiring configuration to match your system’s specifications. Compatibility issues may lead to improper functionality or damage to the thermostat or HVAC system. Refer to the installation manual or consult a professional if unsure about compatibility.
2.2 Tools and Materials Needed
To successfully install the Honeywell TH6220U2000 thermostat, gather the necessary tools and materials. You will need a screwdriver (both flathead and Phillips), a drill with drill bits, wall anchors, a level, wire strippers, and a voltage tester. Additionally, ensure you have the thermostat unit, the mounting plate, and any optional accessories like the J-box adapter or cover plate. If your system requires it, have extra wires or connectors ready. Batteries for the thermostat may also be needed, depending on the setup. Having all these items prepared will streamline the installation process and minimize delays.

Step-by-Step Installation Guide
Mount the thermostat on the wall, ensuring proper alignment and leveling. Connect the wiring according to the diagram, then configure the settings using the Honeywell Home app for optimal performance.
3.1 Mounting the Thermostat
To mount the Honeywell TH6220U2000 thermostat, begin by separating the cover plate from the mounting plate. Attach the mounting plate to the wall using the provided screws, ensuring it is level and secure. Next, insert the wires through the wiring hole in the mounting plate. Align the thermostat with the mounting plate and gently snap it into place. Tighten the screws to secure the thermostat firmly. Ensure the device is properly aligned and level for accurate temperature readings. Refer to the wiring diagram in the manual for correct wire connections. Proper mounting is essential for reliable performance and energy efficiency. Follow these steps carefully to ensure a successful installation.
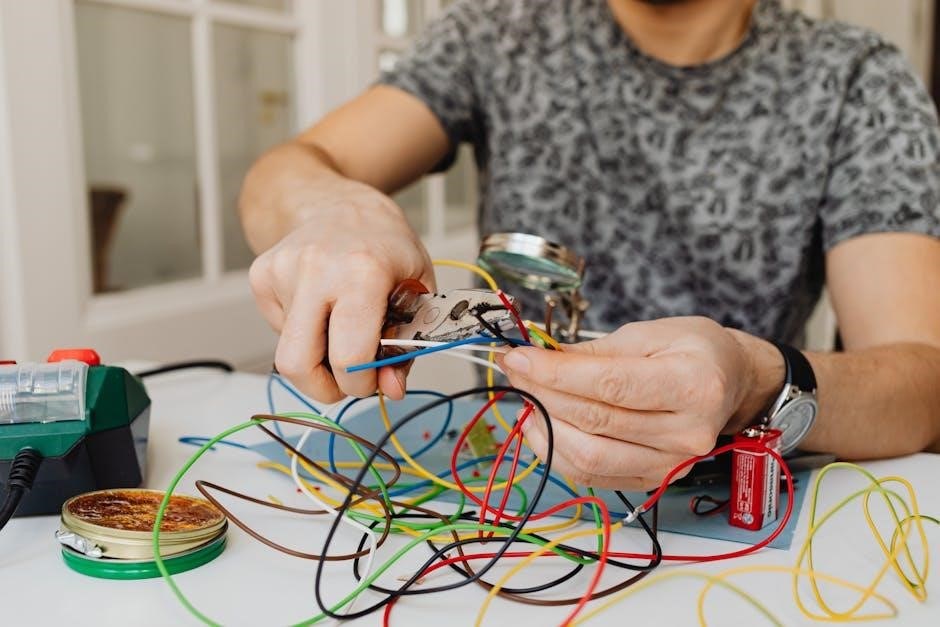
3.2 Wiring Connections and Configuration
Connect the wires to the appropriate terminals on the Honeywell TH6220U2000 thermostat. Ensure the system is powered off before starting. Match each wire to its corresponding terminal (e.g., R, W, Y, G, C, etc.) based on your HVAC system. The C terminal connects to the common side of the transformer. Secure the wires tightly to avoid loose connections. After wiring, turn the power back on and test the system to ensure proper functionality. If issues arise, check connections or consult the manual. Proper wiring ensures accurate temperature control and efficient operation. Follow the wiring diagram provided in the manual for precise configurations.
Advanced Installation Settings
Explore advanced features like adapter installations and optional cover plates for a customized setup. These settings enhance functionality and ensure compatibility with your HVAC system.
4.1 Adapter Installation (J-Box Adapter)
The J-Box Adapter is essential for compatibility with certain HVAC systems. Begin by separating the Cover Plate from the Mounting Plate. Secure the Mounting Plate to the wall using the provided screws. Ensure the wiring is correctly routed through the wiring hole of the UWP. Next, place the UWP over the wall anchors and tighten the mounting screws. This ensures a stable and secure installation. Proper alignment is crucial to prevent any issues with thermostat functionality. Follow the manufacturer’s guidelines for tightening to avoid damage. Once installed, verify all connections are secure and test the system to ensure proper operation. This step ensures seamless integration with your HVAC system, providing optimal performance and efficiency.
4.2 Optional Cover Plate Setup
The optional Cover Plate enhances the thermostat’s appearance and conceals wall marks from previous installations. To install, separate the Cover Plate from the Mounting Plate. Align the Mounting Plate with the wall and secure it using the provided screws. Ensure the plate is level for a professional finish. Once the Mounting Plate is fixed, gently snap the Cover Plate into place until it clicks securely. This step is purely aesthetic and does not affect functionality. For precise alignment, refer to the manual’s measurements. Proper installation ensures a clean look and protects the wall from potential damage. This optional feature allows for a polished final appearance, complementing your home decor seamlessly.

Post-Installation Configuration
After installation, configure the Honeywell TH6220U2000 using the Honeywell Home app for remote control and scheduling. Test all functions to ensure proper operation and verify settings for optimal performance.
5.1 Honeywell Home App Setup

Setting up the Honeywell Home app is essential for remote control and advanced features of the TH6220U2000. Download the app from the App Store or Google Play. Create an account or log in if you already have one. Ensure your thermostat is powered on and connected to Wi-Fi. Follow in-app instructions to link the thermostat to your account. Once connected, you can adjust schedules, monitor energy usage, and receive notifications. The app also allows access to installer settings for fine-tuning configurations, ensuring your system operates efficiently and meets your comfort needs.
5.2 Testing and Verification
After installation, test the thermostat to ensure proper functionality. Turn the system on and off to verify heating and cooling operation. Check temperature accuracy and responsiveness to manual adjustments. Test scheduling features to confirm they activate as programmed. Ensure remote access through the Honeywell Home app works correctly. Verify all wiring connections are secure and functioning as intended. Review the system’s performance to confirm it meets your comfort and energy-saving goals. If any issues arise, refer to the troubleshooting section in the manual or contact Honeywell support for assistance. Proper testing ensures your thermostat operates efficiently and reliably.