Boat Trailer Guide-Ons: A Comprehensive Guide
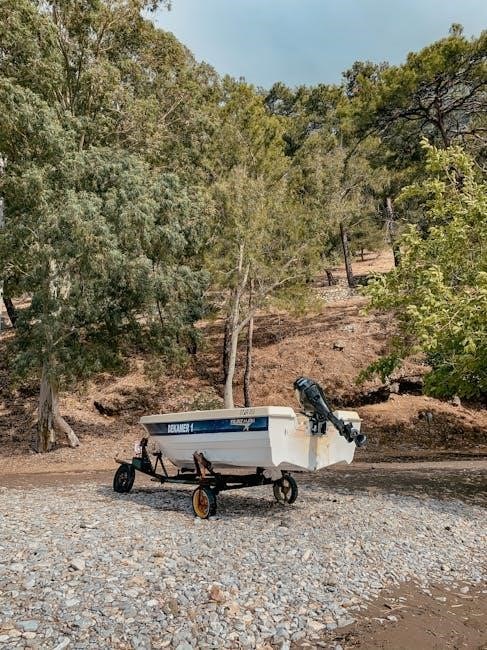
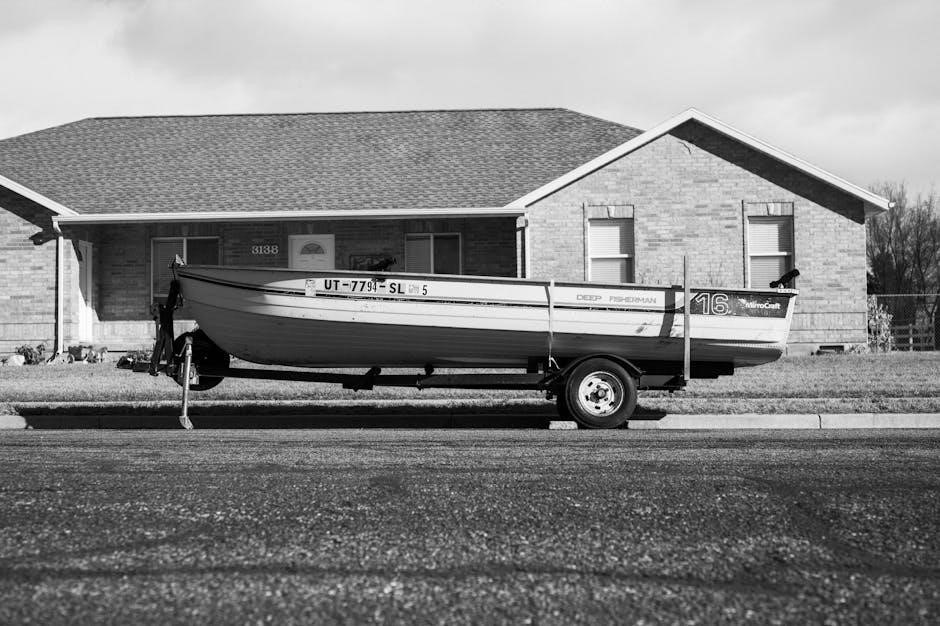
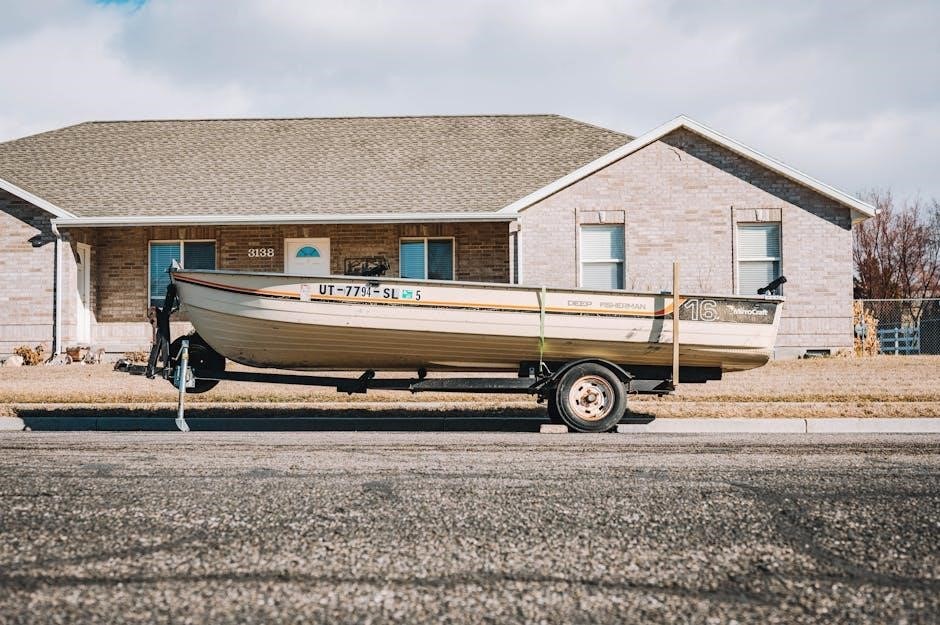
Boat trailer guide-ons simplify loading, preventing damage during retrieval; various styles exist, like post and roller types, enhancing the boating experience significantly.
What are Boat Trailer Guide-Ons?
Boat trailer guide-ons are essential components designed to streamline the process of loading a boat onto a trailer, particularly useful in challenging conditions. They act as navigational aids, directing the boat’s hull smoothly and safely between the trailer’s fenders.
These devices minimize the risk of damage to both the boat and the trailer during loading and retrieval. Available in post or roller styles, guide-ons provide a defined channel, reducing guesswork and the potential for scraping or impact. Properly installed guide-ons contribute to a faster, more efficient, and less stressful boating experience, especially for solo operators.
Types of Boat Trailer Guide-Ons
Boat trailer guide-ons primarily come in two distinct designs: post-style and roller-style. Post-style guide-ons utilize vertical posts to channel the boat, offering a simple and robust solution, often favored for their durability and ease of installation.
Roller-style guide-ons, conversely, employ a series of rollers to gently guide the boat, providing a smoother, more forgiving contact point. CE Smith specializes in roller-style options. The choice depends on boat size, trailer configuration, and personal preference, with each type offering unique advantages for simplified loading.
Post-Style Guide-Ons
Post-style guide-ons represent a straightforward approach to boat trailer alignment. These systems utilize sturdy vertical posts, typically constructed from aluminum or steel, to direct the boat during the loading process. They are known for their simplicity and robust construction, making them a reliable choice for many boaters.
Installation generally involves mounting brackets to the trailer frame and securing the posts. Oceansouth offers popular post-style options. They are particularly effective for boats with keels, providing a defined channel for accurate centering. Their durability ensures long-lasting performance, even in harsh conditions.
Roller-Style Guide-Ons

Roller-style guide-ons employ a series of rollers mounted on adjustable frames to guide the boat onto the trailer. CE Smith is a well-known manufacturer of these systems. The rollers gently cradle the boat’s hull, minimizing friction and potential damage during the loading process. This design is particularly beneficial for boats without prominent keels.
Installation involves attaching mounting hardware to the trailer frame and then securing the roller assemblies. They offer a smoother loading experience, especially in challenging conditions. Regular inspection of the rollers is crucial to ensure optimal performance and prevent wear and tear.
Benefits of Installing Guide-Ons
Installing boat trailer guide-ons offers numerous advantages, significantly simplifying the boat launching and retrieval process. They drastically reduce the risk of hull damage, scratches, and dents that can occur during loading, saving costly repairs. Guide-ons improve safety by providing a controlled path for the boat, minimizing the need for precise maneuvering.
Furthermore, they enhance efficiency, allowing for quicker and easier loading, especially for solo operators. Properly installed guide-ons contribute to a more streamlined boating experience, making each trip more enjoyable and stress-free, ultimately protecting your investment.
Tools and Materials Needed for Installation
Successfully installing boat trailer guide-ons requires specific tools and materials. A drill with a selection of drill bits is essential for creating mounting holes. A wrench set, encompassing various sizes, is needed to tighten mounting hardware – including bolts, nuts, and washers – securely.
Depending on the trailer frame, you might also need a socket set. A measuring tape ensures accurate placement, while a level guarantees proper alignment. Safety glasses are crucial for eye protection during drilling. Consider having penetrating oil to ease bolt removal if needed, and a marker for precise marking.
Drill and Drill Bits

A robust drill is paramount for guide-on installation, capable of penetrating the trailer frame’s metal. Cordless drills offer mobility, while corded models provide consistent power. Crucially, a selection of drill bits is necessary, specifically metal-cutting bits.
Bit sizes must match the diameter of your mounting bolts. High-speed steel (HSS) bits are suitable for most trailer frames, but tougher materials may require cobalt or titanium-coated bits. Step bits can create clean, appropriately sized holes. Always use appropriate safety glasses when drilling!
Wrench Set
A comprehensive wrench set is essential for securely fastening guide-on components to the trailer frame. Both standard and metric wrenches are advisable, as trailer manufacturers may utilize either bolt type. Socket wrenches, with various socket sizes, offer efficient tightening and loosening, particularly in confined spaces.
Adjustable wrenches provide versatility, but fixed-size wrenches deliver a more secure grip. Consider a torque wrench to ensure bolts are tightened to the manufacturer’s specifications, preventing over-tightening and potential damage. Rust-resistant wrenches are ideal for marine environments.
Mounting Hardware (Bolts, Nuts, Washers)
High-quality mounting hardware is crucial for a secure and lasting installation of boat trailer guide-ons. Stainless steel bolts, nuts, and washers are highly recommended to resist corrosion from saltwater and road salt exposure. Ensure the bolt diameter and length are appropriate for the mounting brackets and trailer frame thickness.
Lock washers or nylon-insert nuts prevent loosening due to vibration during transport. Flat washers distribute the load, protecting the trailer frame. Having a variety of sizes on hand ensures compatibility with different mounting points.
Step-by-Step Installation Guide
Installing boat trailer guide-ons involves careful preparation and execution. Begin by thoroughly cleaning the trailer frame where the mounting brackets will attach. Position the brackets, ensuring proper alignment with the boat’s hull. Mark the drill points accurately, then drill pilot holes to prevent metal distortion.

Securely attach the mounting brackets using appropriate hardware. Finally, install the guide-on posts or rollers, tightening all connections. Double-check alignment and stability before your first launch.
Preparing the Trailer Frame
Prior to guide-on installation, meticulous frame preparation is crucial. Begin by thoroughly cleaning the mounting area, removing any rust, dirt, or debris. Inspect the frame for existing damage or weaknesses; address these before proceeding. Ensure the frame is level and stable for accurate bracket placement.

Measure and mark the desired locations for the mounting brackets, considering boat size and alignment. For I-beam trailers, mounting on the lip beams simplifies installation. A clean, sound frame ensures secure and lasting guide-on performance.
Attaching the Mounting Brackets
Securely attaching mounting brackets is vital for guide-on stability. Position the brackets on the marked locations, aligning them precisely with pre-drilled holes or marking new ones. Utilize appropriate mounting hardware – bolts, nuts, and washers – ensuring they are compatible with the trailer frame material.
Tighten the hardware firmly with a wrench set, but avoid over-tightening, which could damage the frame. For rectangular frames, brackets mount directly to the sides. Double-check bracket alignment before fully tightening, guaranteeing proper guide-on function.
Installing the Guide-On Posts or Rollers
With brackets secured, install the guide-on posts or rollers. Slide the posts into the bracket receivers, ensuring a snug fit. For roller-style guide-ons, attach the rollers to the brackets using the provided hardware, verifying smooth rotation.
Confirm vertical alignment; posts should stand straight and parallel. Tighten all connection points firmly, but cautiously. Regularly inspect roller functionality, ensuring free movement. Proper installation prevents boat scuffing and simplifies loading, enhancing the overall trailering experience.
Mounting Considerations for Different Trailer Frames

Trailer frame type dictates mounting. I-beam trailers often require clamping or welding brackets directly to the beam, ensuring robust support. Rectangular frames allow bolting brackets to the top or side, utilizing existing holes or drilling new ones.
Lip beams simplify installation and removal, offering flexibility. Diamond plate frames necessitate drilling, demanding careful alignment. Consider frame width and height when selecting brackets. Secure mounting is crucial for stability and preventing guide-on movement during transport, safeguarding your boat.
I-Beam Trailers
I-beam trailers present unique mounting challenges. Typically, guide-on brackets are clamped or welded directly onto the I-beam itself, providing maximum strength and stability. Clamping offers adjustability and avoids permanent modification, while welding creates a more rigid connection.
Ensure the brackets fully encompass the beam’s flanges for secure attachment. Oceansouth guide poles are frequently installed on I-beam trailers. Proper alignment is vital; confirm the guide-ons are parallel and positioned to effectively funnel the boat during retrieval, preventing damage.
Rectangular Frame Trailers
Mounting guide-ons to rectangular frames is generally more straightforward. Brackets can be bolted directly to the frame’s top or side rails, utilizing existing holes or requiring drilling. Amazon reviews highlight successful installations on 2” x 3” rectangular frames.
Consider the frame’s thickness and material when selecting mounting hardware. Reinforcing plates may be necessary for thinner-walled frames. SturdyBuiltOnline suggests mounting on lip beams for easier installation and removal. Accurate alignment is crucial for smooth boat loading and retrieval, avoiding potential scrapes;
Adjusting Guide-On Height and Alignment
Proper height and alignment are critical for effective guide-on performance. The goal is to have the guide-ons gently cradle the boat’s hull as it’s being retrieved. Adjust the height so the guide-ons contact the hull at its widest point.
Ensure both sides are level and aligned with the boat’s centerline. Misalignment can cause scratches or difficulty loading. Regularly check and readjust as needed, especially after towing over rough terrain. A properly adjusted system minimizes stress on both the boat and trailer during the loading process.

Maintenance and Inspection
Regular maintenance ensures your guide-ons remain effective and prevent damage. Inspect mounting hardware – bolts, nuts, and washers – for looseness or corrosion after each use and especially before long trips. Lubricate roller-style guide-ons to maintain smooth operation.
Check for wear and tear on the guide-on material itself, replacing worn components promptly. A quick visual inspection before each launch can identify potential issues, saving you from costly repairs and ensuring safe boat retrieval. Prioritize preventative care for longevity.
Troubleshooting Common Issues
Misalignment is a frequent problem; ensure guide-ons are parallel to the trailer frame and boat centerline. If they aren’t aligning properly, loosen mounting brackets and readjust. Loose hardware is another common issue; tighten all bolts and nuts regularly, using lock washers to prevent loosening during transport.
Inspect for bent posts or rollers, replacing damaged parts immediately. If issues persist, verify the trailer frame itself isn’t bent or warped. Addressing these problems promptly ensures smooth and safe boat loading.
Guide-Ons Not Aligning Properly
Misalignment often stems from improper initial installation. Begin by loosening the mounting brackets completely, allowing for free movement. Carefully re-align the guide-ons, ensuring they are parallel with the trailer’s frame and directly in line with the boat’s keel.
Use a level to confirm vertical alignment. If the trailer frame is bent, shimming the mounting brackets may be necessary. Double-check all measurements before tightening the hardware. Persistent misalignment could indicate a warped trailer frame requiring professional attention.
Loose Mounting Hardware
Regularly inspect all bolts, nuts, and washers securing the guide-ons. Vibration during transport is a primary cause of loosening. Utilize lock washers or thread-locking compounds (like Loctite) during installation and re-tightening procedures.
Carry a wrench set on board for quick adjustments during trips. Pay close attention after the first few towing miles, as hardware often settles initially. Ignoring loose hardware can lead to guide-on failure and potential boat damage. Prioritize safety by addressing this issue promptly and consistently.
Popular Brands and Models
CE Smith Guide-Ons are widely recognized for their durability and range of options, including both post and roller styles, catering to diverse trailer setups. Extreme Max Guide-Ons offer robust construction and easy installation, frequently featuring adjustable height capabilities for optimal alignment.
Oceansouth also provides quality guide poles, often favored for I-beam trailers. When selecting a brand, consider your trailer frame type and boat size. User reviews highlight the reliability and longevity of these brands, making them popular choices among boaters seeking secure loading solutions.
CE Smith Guide-Ons
CE Smith offers a comprehensive selection of boat trailer guide-ons, known for their robust construction and adaptability to various trailer frames. Their roller-style guide-ons are particularly popular, providing smooth and controlled boat entry. Available in multiple lengths and capacities, CE Smith products accommodate diverse boat sizes and weights.
Many models feature corrosion-resistant coatings, ensuring longevity in marine environments. Installation is generally straightforward, with clear instructions and readily available mounting hardware. CE Smith consistently receives positive reviews for quality and value, making them a trusted brand among boat owners.
Extreme Max Guide-Ons
Extreme Max specializes in durable and innovative boat trailer accessories, and their guide-on posts are highly regarded for ease of installation and effectiveness. These guide-ons are designed to quickly align your boat with the trailer, reducing stress during loading and unloading. Constructed from heavy-duty materials, they withstand rigorous use and harsh conditions.
Extreme Max offers both post and roller guide-on options, catering to different preferences and boat hull types. Many users praise their adjustable height feature, allowing for a customized fit; They are frequently available with pre-drilled mounting holes, simplifying the installation process.
Cost Considerations
Boat trailer guide-on costs vary significantly based on type, material, and brand. Post-style guide-ons generally range from $50 to $150 per pair, while roller-style options typically fall between $80 and $200 per pair. Premium brands like CE Smith and Extreme Max often command higher prices due to their enhanced durability and features.
Installation costs can add to the overall expense if you choose professional installation, potentially adding another $50 to $100. Consider the long-term benefits – preventing boat damage and simplifying loading – when evaluating the investment.
Where to Purchase Guide-Ons
Boat trailer guide-ons are widely available through various retailers. Major online marketplaces like Amazon offer a broad selection from different brands, including CE Smith and Extreme Max, providing convenient shopping and competitive pricing. Local marine supply stores are excellent resources, offering expert advice and the opportunity to inspect products firsthand.
Additionally, Walmart and other large retailers often carry basic guide-on models. Specialty trailer parts retailers, both online and brick-and-mortar, cater specifically to trailer needs. Checking websites like Sturdy Built Online can also yield options.